I tried out this impressive dye-sub trend with gorgeous results. Luckily, I took photos along the way to ensure you could try it, too! With this step-by-step guide to dye sublimation, all you need is your imagination.
How to Create Vibrant 3D Art with Dye Sublimation
BY SPRITE WOOD, CONDÉ SYSTEMS
(Originally published in the November 2017 issue of Insights.)
I tried out this impressive dye sub trend with gorgeous results. Luckily, I took photos along the way to ensure you could try it, too! With this step-by-step guide to dye sublimation, all you need is your imagination.
MATERIALS
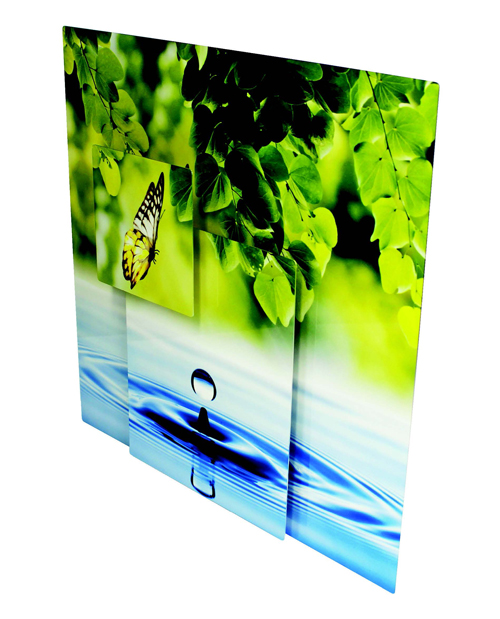
The image you choose will determine how many pieces you’ll need and their sizes. I chose an image with two focal points that could be isolated and printed onto different sized White Gloss ChromaLuxe Aluminum panels to give the image depth and creativity.
By choosing the size I wanted the main photo to be, I was able to measure isolated focal points to find out how big they needed to be to fit comfortably and overlap.
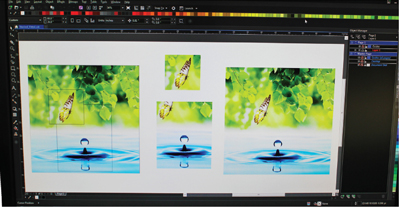
STEP 1: DESIGNING
Create the needed pieces from one photo in your graphics software. I used CorelDRAW 2017, implementing the Powerclip function to place each image into its respective box—all with a 1/8-in. (.125 in.) bleed limit.
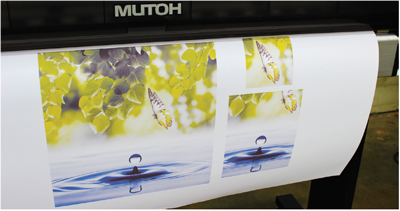
STEP 2: DYE SUBLIMATION PRINTING
Send the images to your dye-sub printer. Here, I’m using the Mutoh RJ-9000X with Condé Systems' DyeTrans Sublimation Printing Paper. For my project, I chose:
STEP 3: TAPING THE TRANSFER
I cut the transfers down to size and applied them to the ChromaLuxe metal panels, using heat transfer roll tape.
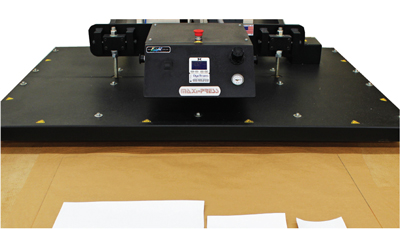
STEP 4: PRESSING
I moved the metal and transfers to our Geo Knight & Co. MAXI•PRESS. I placed all three pieces (image face down) on clean butcher paper, covered them with Poly Poplin Sublimation Fabric, and pressed them for 1½ minutes at 400 degrees and 80 psi pressure.

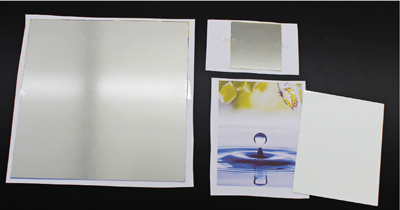
STEP 5: COOLING
I removed the transfers and let the metal cool before handling it to prevent chipping.
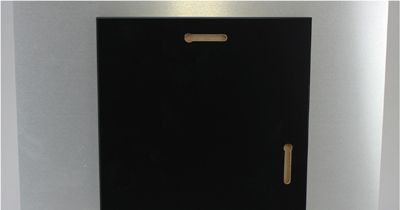
STEP 6: ADDING THE MOUNT PANEL
This piece will be so pretty we’ll want to hang it up. Adding the panel for easy hanging is best done before the metal is stacked.
I applied a 9-in.-by-12-in. Unisub Mount Panel to the back of the 16-in.-by-16-in. metal panel and allowed it to cure overnight.
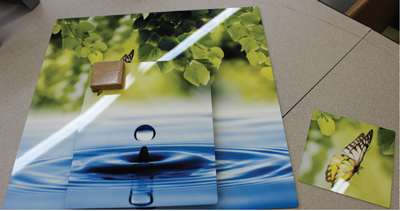
STEP 7: SPACING AND PLACING
To stack the finished pieces, I used three Unisub ½-in.- thick Mount Spacers. I placed two Mount Spacers under the 8-in.-by-10-in. metal panel—one in the center and one in the top left corner where the 5-in. square would be for stability. I aligned the 8-in.-by-10-in. panel by matching its graphic to the one on the 16-in.-by-16-in. panel and pressed firmly for a few seconds. Then, I placed my last Mount Spacer on the top left corner of the 8-in.-by-10-in.
Sprite Wood is a graphic artist at Mobile, AL-based Condé Systems. In business for 25 years, Condé Systems supplies dye sublimation blanks, printers, heat presses, inks, and more for the creation of full-color, photographic quality gifts, awards, and other personalized products. Find out more at www.conde.com.