
Switching from one design software to another can be challenging when the tools, layout, and hot keys differ. If you’re using an all-in-one workflow like LightBurn and MillMage, there are a few key tricks to speeding up your processes.
LightBurn (for lasers) and MillMage (for CNC routers) are made by the same people, so they’re already designed to work together within a single program from start to finish. If you’re working with both lasers and CNC routers, this setup is seamless because it uses the same tools, layout, and hotkeys.
Here are some tips on speeding up and customizing your workflow in LightBurn, MillMage, or both.
Quick-Selection Tools
You can’t adjust an object unless you can select it, and you’ll also want to make sure you don’t accidentally grab anything nearby that you don’t want to change. Of course, clicking directly on individual objects is the most straightforward strategy, but it can be time-consuming.
You’ll find several even faster options in the Edit Menu, including Select All (Ctrl+A/Cmd+A), Invert Selection (Ctrl+Shift+I/Cmd+Shift+I), Select Open Shapes, Select All Shapes in Current Layer, and more.
The two box-selection options are also incredibly powerful. Click and drag left to right to create a green Crossing Selection box that selects everything it touches. Inversely, drag right to left to create a red Enclosing Selection box that selects only objects fully contained within it.
Hold Shift while using click selection or box selection to add objects to your selection, and Ctrl/Cmd to toggle objects’ selection status: Select objects that aren’t currently selected and deselect those that are.
Zoom to Selection or Page
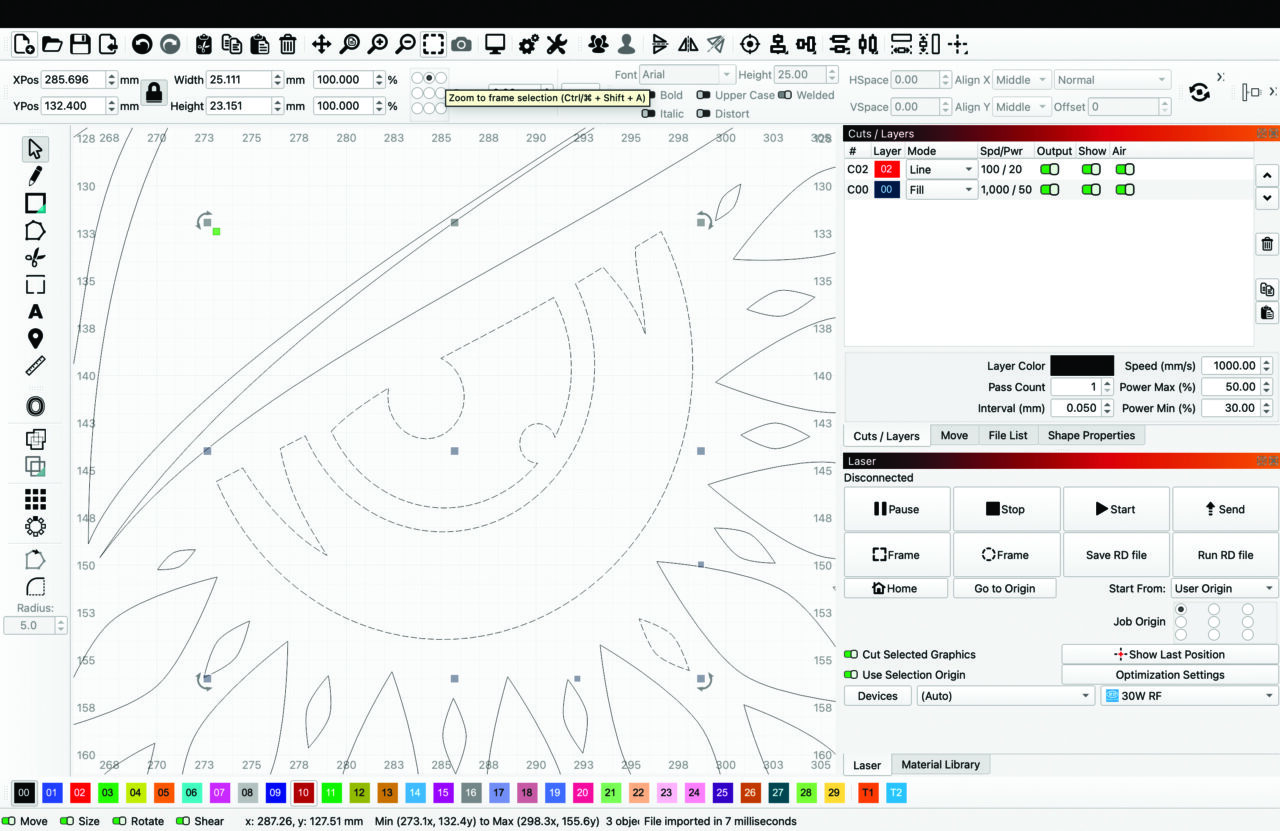
Zooming in and out while designing is essential, and you can always zoom with your keyboard’s plus or minus keys, your mouse’s scroll wheel, or two-finger dragging on a trackpad.
You can also use two options to jump to what you need more quickly in both LightBurn and MillMage. Zoom to Frame Selection (Ctrl+Shift+A/Cmd+Shift+A) to jump to a view of just the graphics in your selection, and Zoom to Page (Ctrl+0/Cmd+0) to bring your entire Workspace grid into view.
Single-Press Keyboard Shortcuts
Every tool in LightBurn and MillMage is available in a toolbar or menu, and most have hot keys as well. But for some of the most common design and layout features, handy one-key shortcuts are also available.
Here’s the one I use frequently: press P to center all objects in your selection in the Workspace.
Several other hot keys align objects relative to one another’s edges or centers in a single press:
- Align Left (L)
- Align Right (R)
- Align Top (T)
- Align Bottom (B)
- Align Vertical Centers (C)
- Align Horizontal Centers (E)
You can also rotate objects 90 degrees clockwise with the period key and 90 degrees counterclockwise with the comma key or nudge them in 5-millimeter increments using the left-, right-, up-, and down-arrow keys. The increments for nudge movement are all adjustable in your personal preferences (Edit > Settings).
One note: These shortcuts only work when the Workspace is in focus. That’s a technical way of saying when the last place you clicked is somewhere within your design grid, rather than an auxiliary window or toolbar.
Hotkey Editor
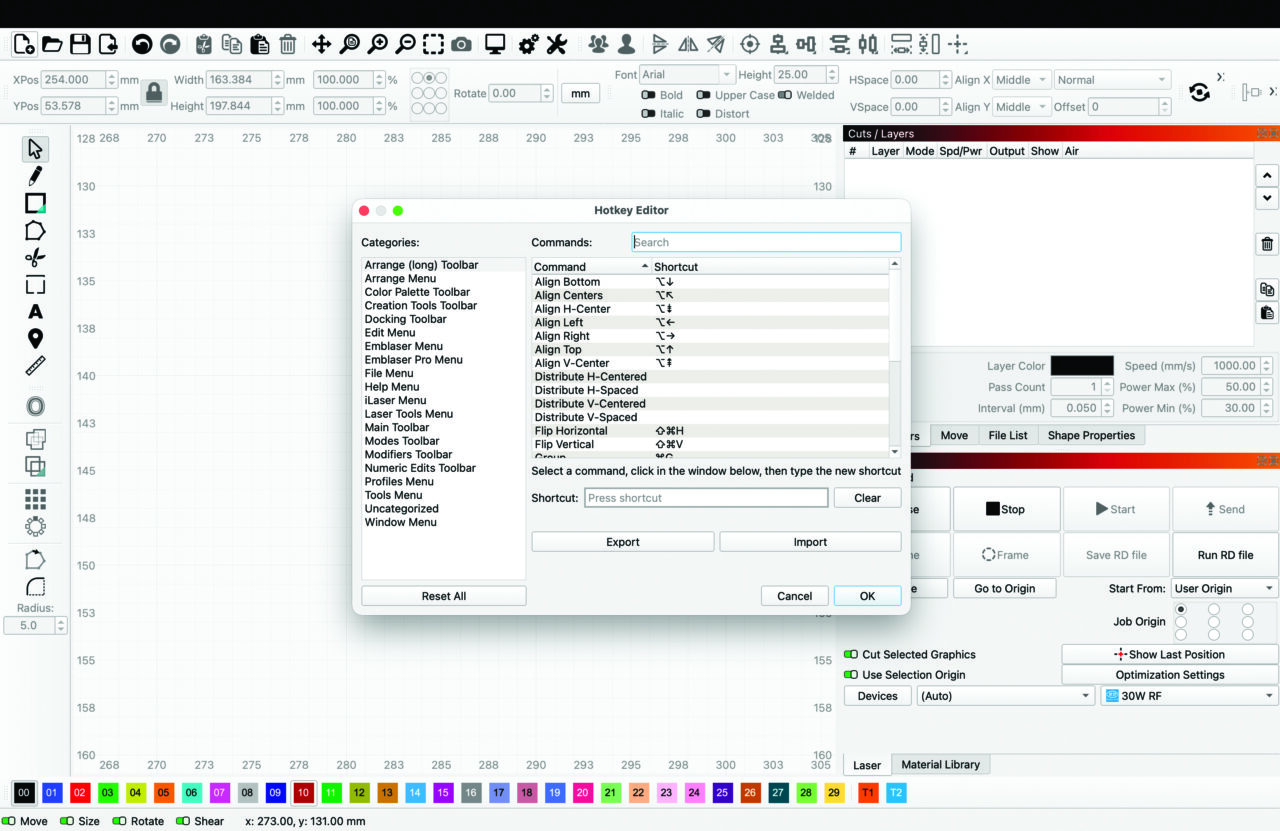
If you’ve got a handful of tools you use all the time, you can customize their hot keys to whatever shortcuts are most convenient to you. This customization is also a great option if there are certain tools you’re used to in other software and want to align your LightBurn/MillMage Hotkey Editor with your muscle memory.
Go to File > Preferences > Edit Hotkeys to open the editor. Then select a tool and press the keys you want to set as a new shortcut. The editor will warn you if your chosen hot key is already in use; in that case, you can select another or clear the hot key from the existing tool.
You can even export and import these custom hotkeys to ensure they’re synced across multiple installations. This is especially helpful if you’re upgrading or adding new equipment to your existing lineup.
Workspace Customization
The LightBurn/MillMage Workspace is highly customizable. Enable or disable any window or toolbar by going to the Window Menu and clicking an entry in the list. Any Window or toolbar with a check mark next to its name is enabled; those without are turned off.
You can also move windows and toolbars around, either undocking them to float independently or redocking them somewhere along the left, right, top, or bottom of your screen. The exact docking locations depend on your display size and the size of your device, but the possibilities are nearly endless.
You can also resize most windows and toolbars by hovering over their tops, bottoms, or sides until you see a two-arrow icon appear, then click and drag. Note that some windows have a minimum size you can shrink them to, and that can also affect your ability to resize adjacent windows.
If you ever decide you’ve changed too much, go to Window > Reset to Default Layout to return to the original appearance from when you first installed.
Dark Mode
Dark Mode helps give your eyes a rest if you’re in front of the screen for a long time. There are two ways to enable this feature in your preferences (Edit > Settings) under the Display tab.
The default Application Theme is System Theme, which matches your default operating system preferences. For example, if your operating system is set to dark mode, LightBurn and MillMage will automatically be set to that mode as well.
If your system is set to light mode, you can override it by selecting Classic Dark (or override a system’s dark theme by selecting Classic Light).
Note that any change you make to the Application Theme requires a restart to take effect.
For more information on LightBurn and MillMage workflow-optimization tips, visit our documentation at Docs.LightBurnSoftware.com and Docs.MillMageSoftware.com.